Adding a client
Adding a client creates the client record and optionally sends an invitation so their contact user can set up a password and log into the Client Portal.
Step 1 — Open the new client form
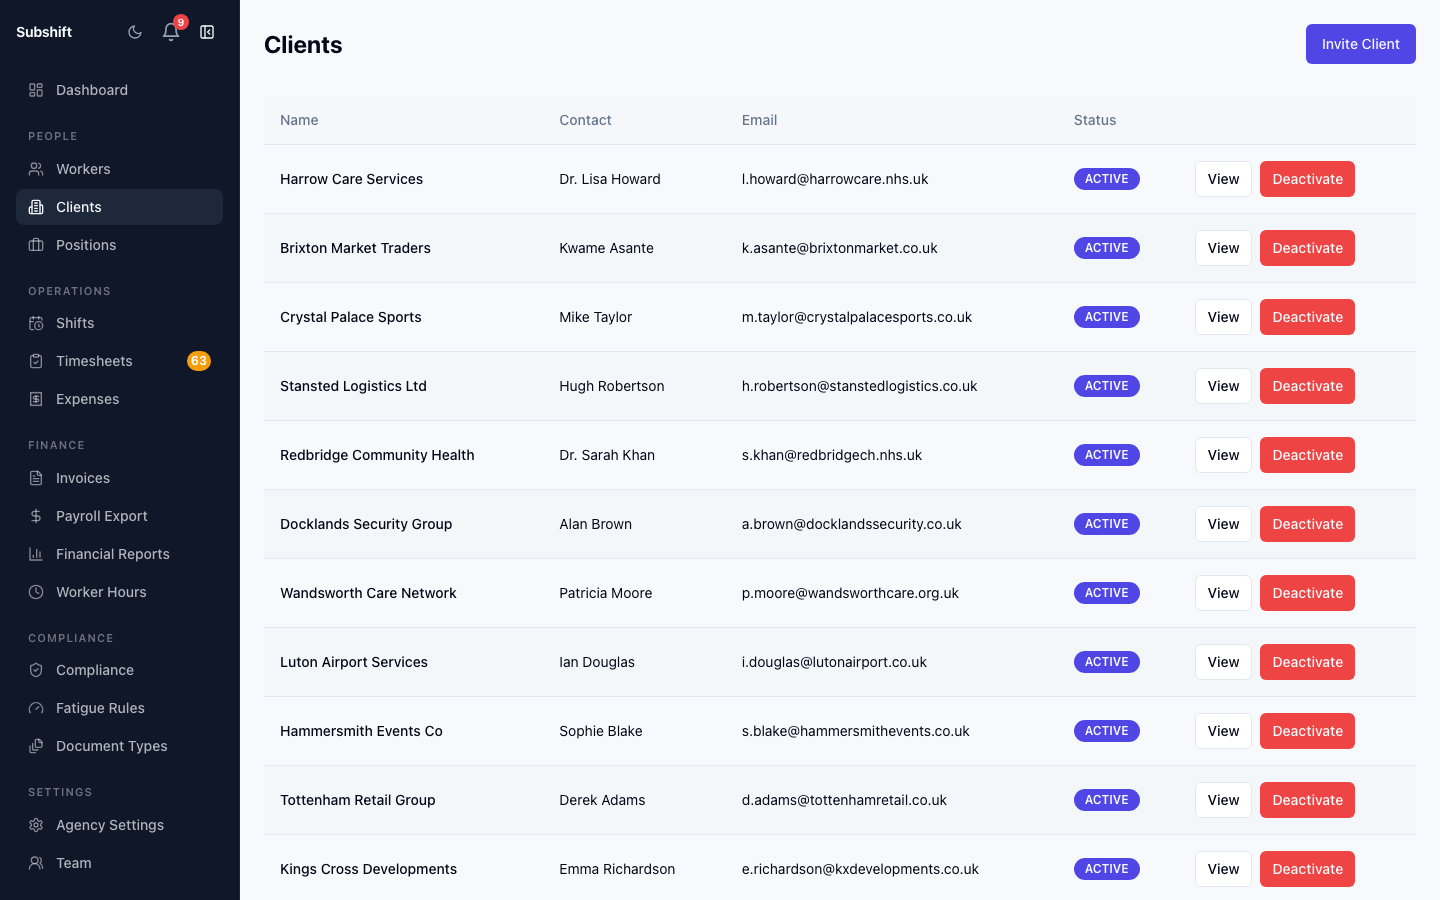
Click Clients in the sidebar, then click Add client in the top right. The new client form opens at /clients/new.
Step 2 — Fill in client details
Complete the required fields:
- Company name — the business trading name (e.g. "Northfield Care Home").
- Contact name — the primary contact at the client site.
- Contact email — used to send the invite and for notifications.
- Address (optional) — shown to workers before they accept shifts.
- Phone (optional) — for agency-internal reference.
Step 3 — Set allowed positions
Select the positions this client is permitted to request from the Allowed positions multi-select. Only these positions will be available when creating shifts for this client.
Warning
Step 4 — Save and invite
Click Save. The client record is created. If you provided an email address, you can immediately send an invite from the client detail page.
The invite flow
From the client detail page, click Invite contact. An invite email is sent with a one-time link. The invite link expires after 7 days.
While the invite is pending you can:
- Resend — send a new invite email (generates a fresh link).
- Copy link — copy the invite URL to paste into a message or email manually.
- Cancel invite — revoke the link so it cannot be used.
Once the contact clicks the link and sets their password, they have access to the Client Portal and the pending-invite UI disappears.
Tip
Related
- Client detail — updating positions and rate cards after creation
- Clients overview
- Client Portal — Logging in