Generating invoices
Invoice generation pulls approved, uninvoiced timesheets for a selected period and turns them into a client invoice. This guide walks through the full generate flow at Invoices → Generate.
Before you start
Make sure all timesheets for the period have been reviewed and approved. Any PENDING_APPROVAL timesheets will be excluded from the generated invoice.
Tip
Go to Timesheets, filter by PENDING_APPROVAL and by the relevant date range, and approve or reject everything before generating invoices.
Step 1: Open the generate flow
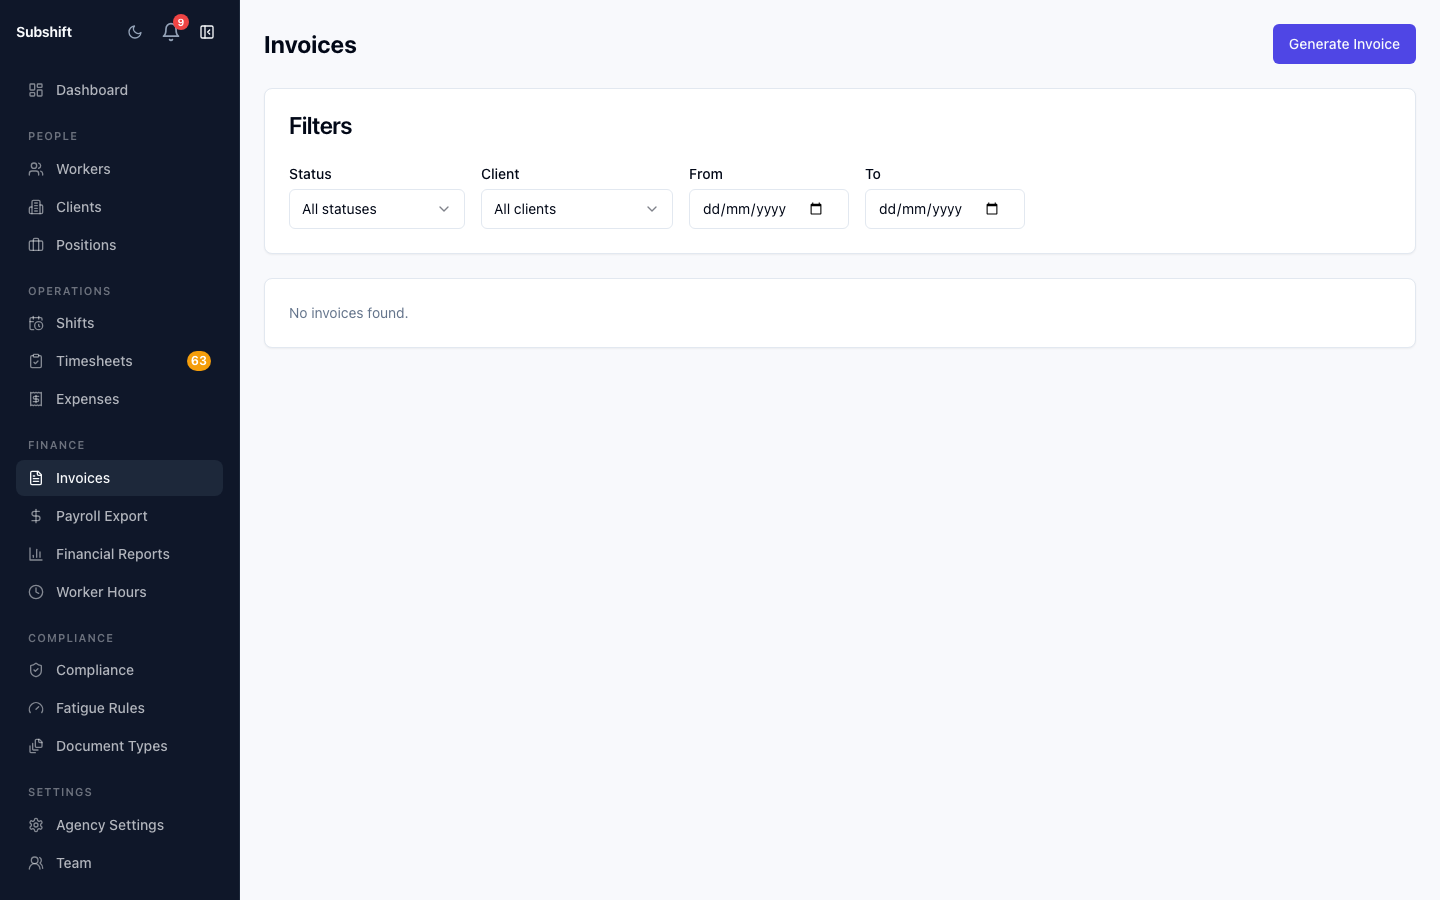
- Go to Invoices in the sidebar.
- Click Generate invoices (top-right button).
Step 2: Pick the billing period
- Set From and To dates. The system will include all approved timesheets with a shift date that falls within this range.
- Optionally select a specific Client to generate invoices for only one client rather than all clients.
Note
Each client gets their own separate invoice. If you have 10 clients with approved timesheets in the period, you'll get 10 invoices — one per client.
Step 3: Preview the invoice
After setting the period, click Preview. The system displays a summary of timesheets that will be included:
- Client name
- Number of shifts / timesheets
- Total hours
- Total amount (based on the applicable rate card)
Warning
Verify the amounts are correct before confirming. Once generated, invoices can only be edited (line-item corrections require regenerating the invoice after adjusting the underlying timesheets).
Step 4: Confirm
- Review the preview summary.
- Click Generate to create the invoices.
- The generated invoices appear in the Invoices list with status DRAFT.
Related
- Invoice detail — mark a generated invoice as sent or paid
- Invoices list — browse and filter all invoices
- Approving timesheets — the prerequisite step before generating