Adding a worker
There are two ways to add a worker: create the record manually (then invite them separately), or use the invite flow which creates the record and sends an email in one step.
Option A — Manual creation
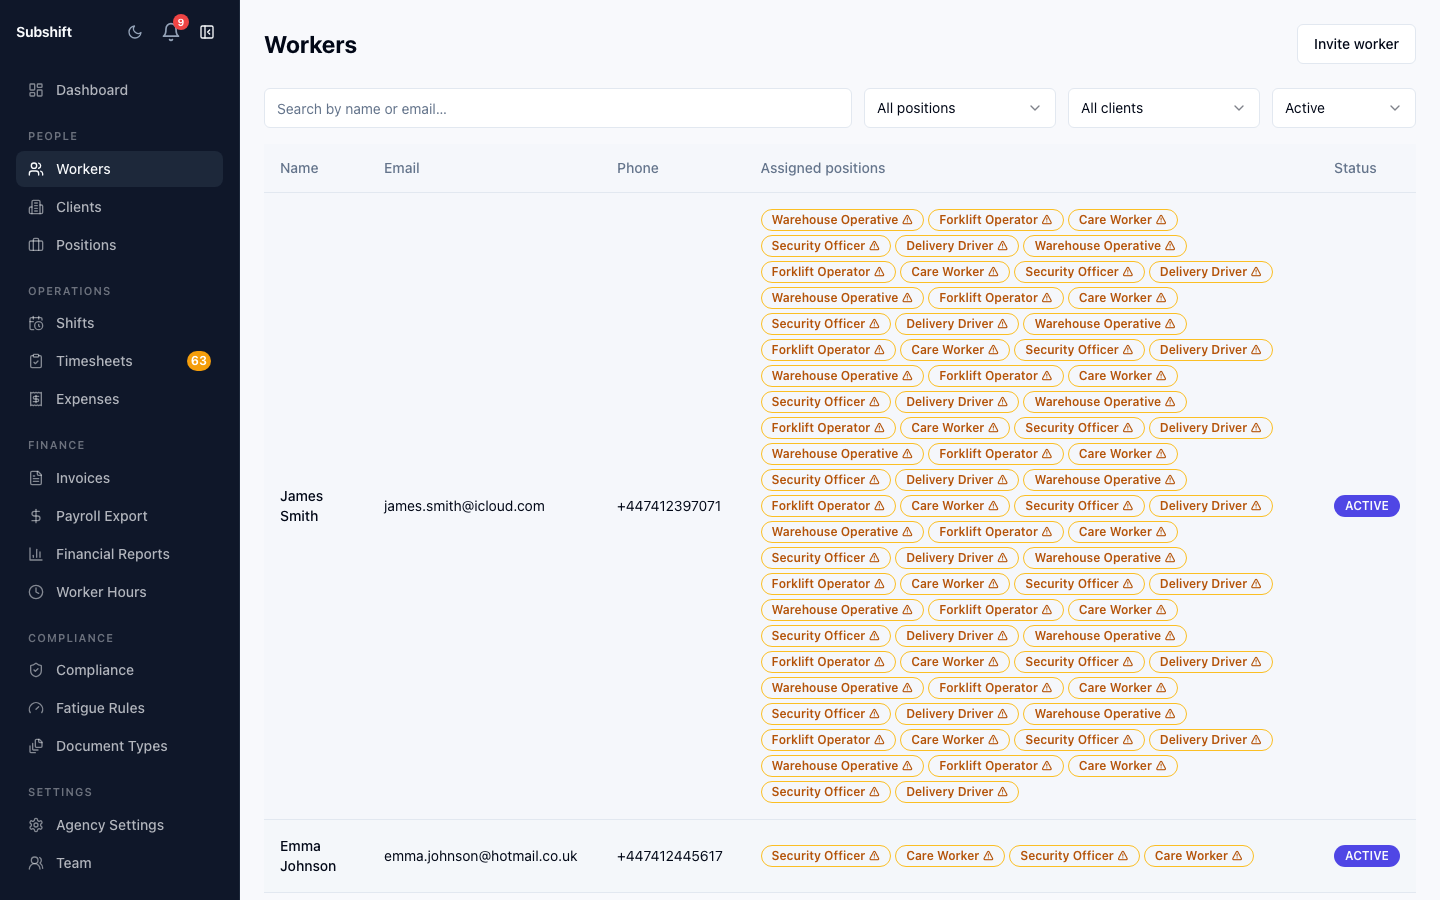
- Go to Workers in the sidebar and click Add worker.
- Fill in the worker's name, email address, phone number (optional), and any internal notes.
- Under Positions, select every position this worker is qualified for.
- Click Save.
The worker record is created with Inactive status. To make them eligible for shift matching, activate them from their profile page and send an invite so they can access the Worker App.
Option B — Invite by email
From the workers list, click Invite worker. Enter the worker's email address. An invite email is sent with a registration link. When the worker sets their password, their account is automatically activated and they can log in to the Worker App.
Note
Managing the pending invite
After sending an invite, a pending-invite banner appears on the worker's detail page. From there you can:
- Resend — send a fresh invite email with a new link.
- Copy link — copy the invite URL to share via another channel (SMS, WhatsApp, etc.).
- Cancel invite — revoke the link immediately.
Setting positions after creation
If you forgot to set positions when creating the worker, go to their detail page and use the Positions section to add qualifications. Workers without any positions are not eligible for any shifts.
Tip
Related
- Worker detail — availability, compliance, and shift history
- Positions — creating roles for workers to qualify for
- Worker App — Creating your account