Getting started
Your agency will send you an email invite when they set up your business on Subshift. This guide walks you through accepting the invite, setting a password, and finding your way around the portal for the first time.
Step 1: Accept your invite
- Open the invite email from your agency.
- Click Accept invitation.
- You'll land on the account setup page.
Step 2: Set your password
- Enter a secure password (minimum 8 characters, must include a number).
- Confirm the password.
- Click Create account.
Tip
Save your login details somewhere secure. If you forget your password later, use the Forgot password link on the sign-in page.
Step 3: Sign in
After creating your account, you're taken straight to the portal. On future visits, sign in at your agency's Subshift client portal URL with your email and password.
Step 4: Get oriented
The main sections of the portal are:
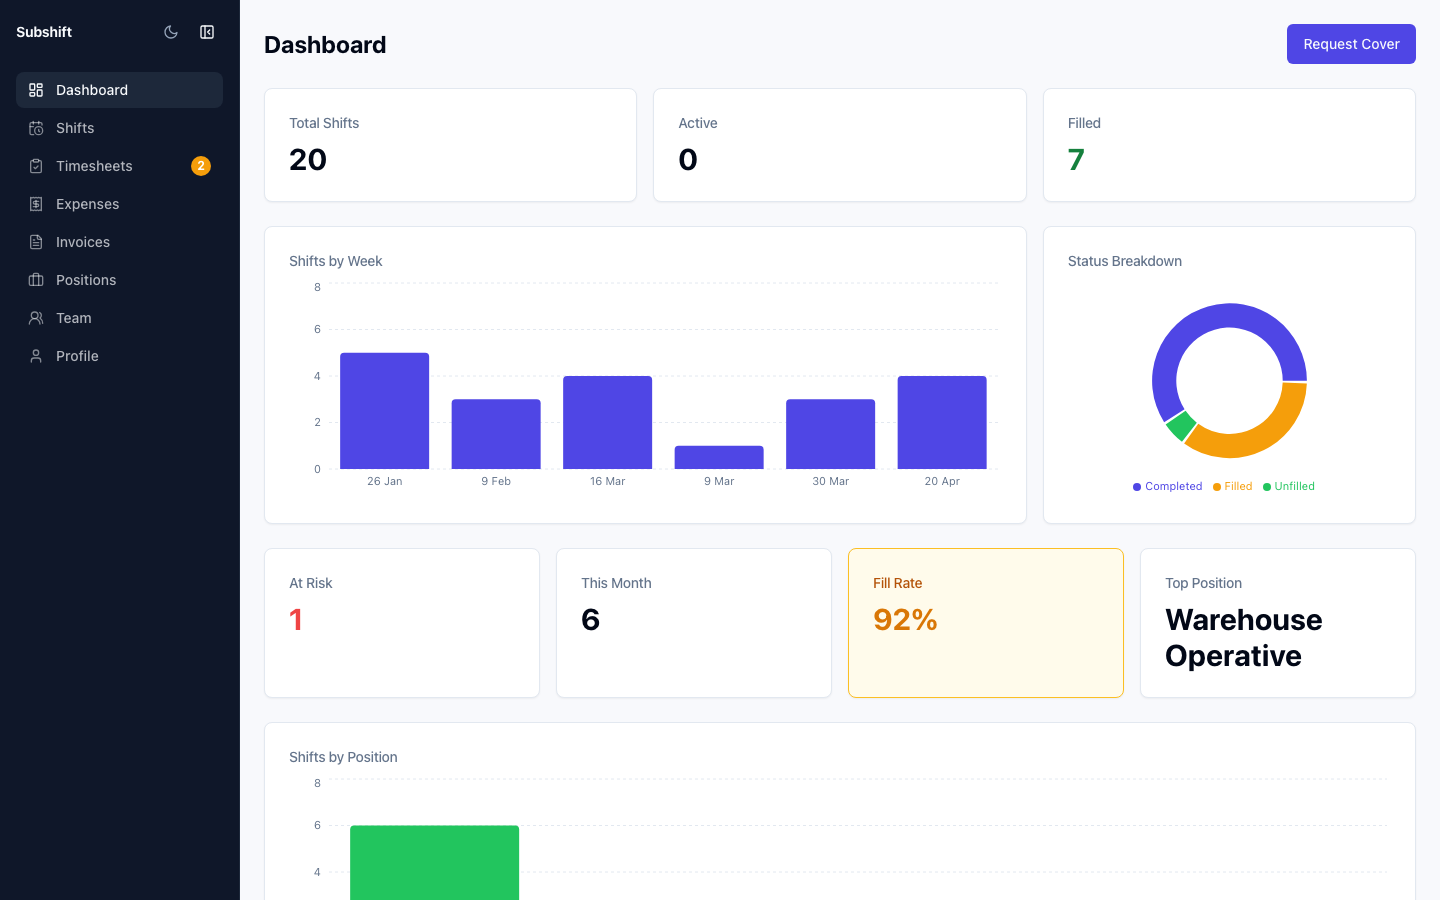
- Dashboard — a live snapshot of upcoming shifts and recent activity at your site.
- Shifts — request cover, view open shifts, and track which workers have been assigned.
- Timesheets — review and approve workers' timesheets for shifts you've had covered.
- Invoices — view and download invoices your agency has issued to your business.
- Expenses — record any reimbursable expenses linked to a shift.
- Positions — see which roles your agency has approved for your site.
- Team — manage who else at your business has access to the portal.
- Profile — update your company contact and billing details.
Note
Only positions your agency has approved for your business will appear when you request a shift. If a position is missing, contact your agency to have it added.
Related
- Dashboard — understand the numbers on your home screen
- Requesting a shift — your first shift request
- Profile — update your company details