Approving timesheets
Once a worker submits a timesheet for a completed shift, it enters the approval queue. This guide walks you through reviewing the details, approving or rejecting, and what happens next in each case.
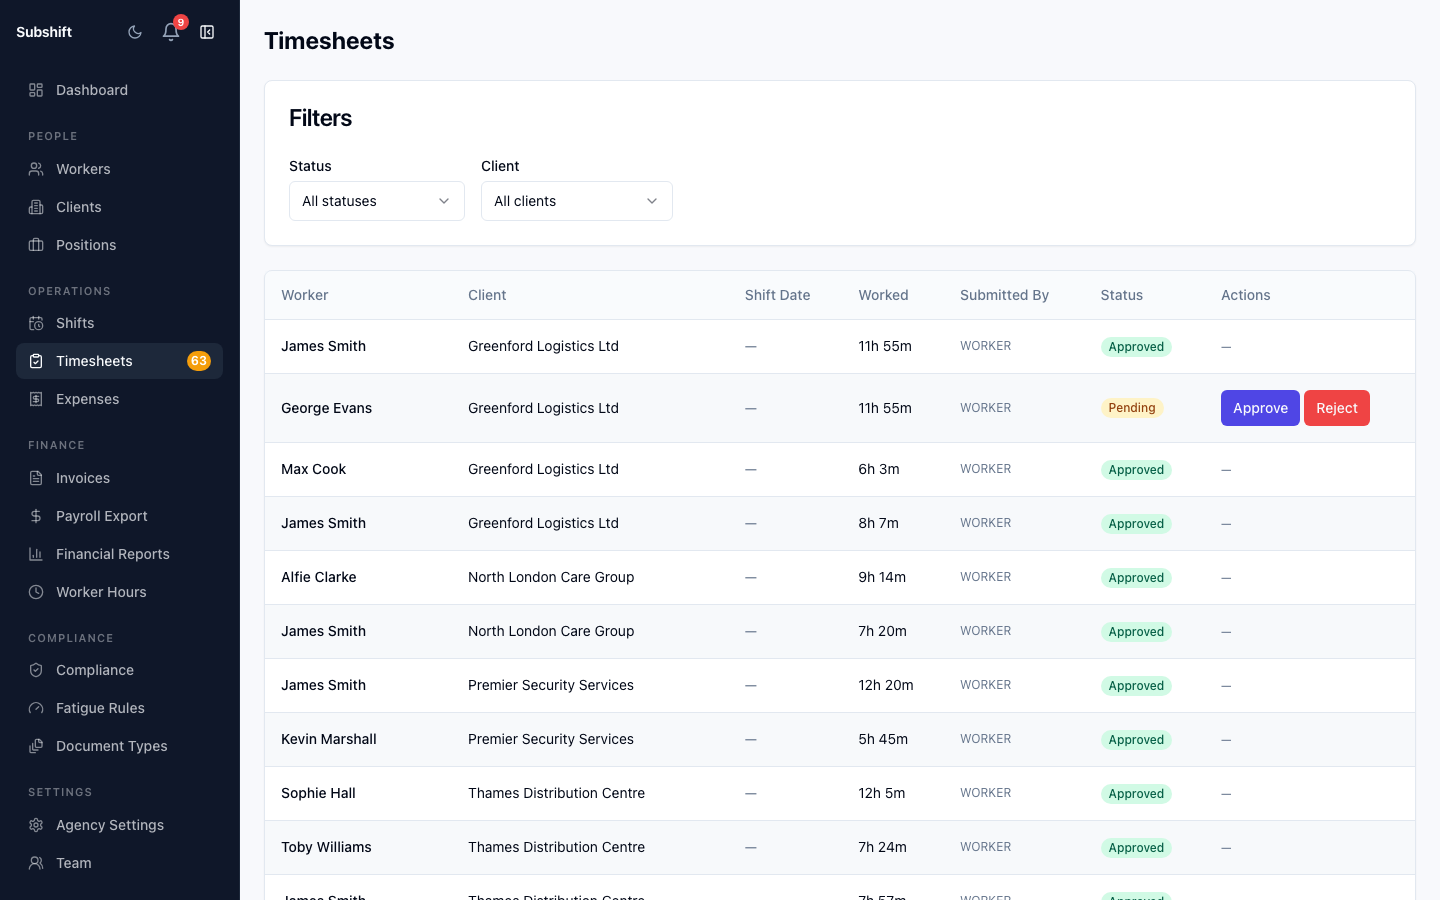
Step 1: Open the timesheet
- Go to Timesheets in the sidebar.
- Filter by Status: PENDING_APPROVAL to see only timesheets that need action.
- Click any row to open the timesheet detail page.
Step 2: Check the hours
The timesheet detail shows:
- Scheduled — the start time, end time, and duration from the original shift booking.
- Actual — the times the worker reported on their timesheet submission.
- Difference — any variance between scheduled and actual (e.g. early finish, late start, extended hours).
- Break — whether a break was taken and for how long.
- Worker note — any free-text note the worker added.
Tip
If the actual hours differ significantly from scheduled, check with the client or worker before approving. Approved hours are what gets invoiced.
Step 3: Approve or reject
Approve
- Review the hours and confirm they are correct.
- Click Approve.
- The timesheet status changes to APPROVED and is now eligible for invoicing.
Reject
- Click Reject.
- Enter a reason in the text field — for example, "Hours do not match client site record. Please resubmit."
- Click Confirm rejection.
- The worker is notified of the rejection with your reason.
Warning
Rejected timesheets are not included in invoice generation. If a worker resubmits after a rejection, the new submission will appear in the queue as PENDING_APPROVAL again.
What happens after approval
Approved timesheets accumulate in the system. When you are ready to bill the client, go to Invoices → Generate to pull all approved, uninvoiced timesheets into an invoice batch for a given period.
Related
- Timesheets overview — filtering and status lifecycle
- Generating invoices — billing clients from approved timesheets
- Worker detail — view a worker's full timesheet history