Creating a shift
Follow these steps to create a new shift. Once saved, Subshift immediately starts matching eligible workers and notifying them in priority order.
Step 1 — Open the create shift form
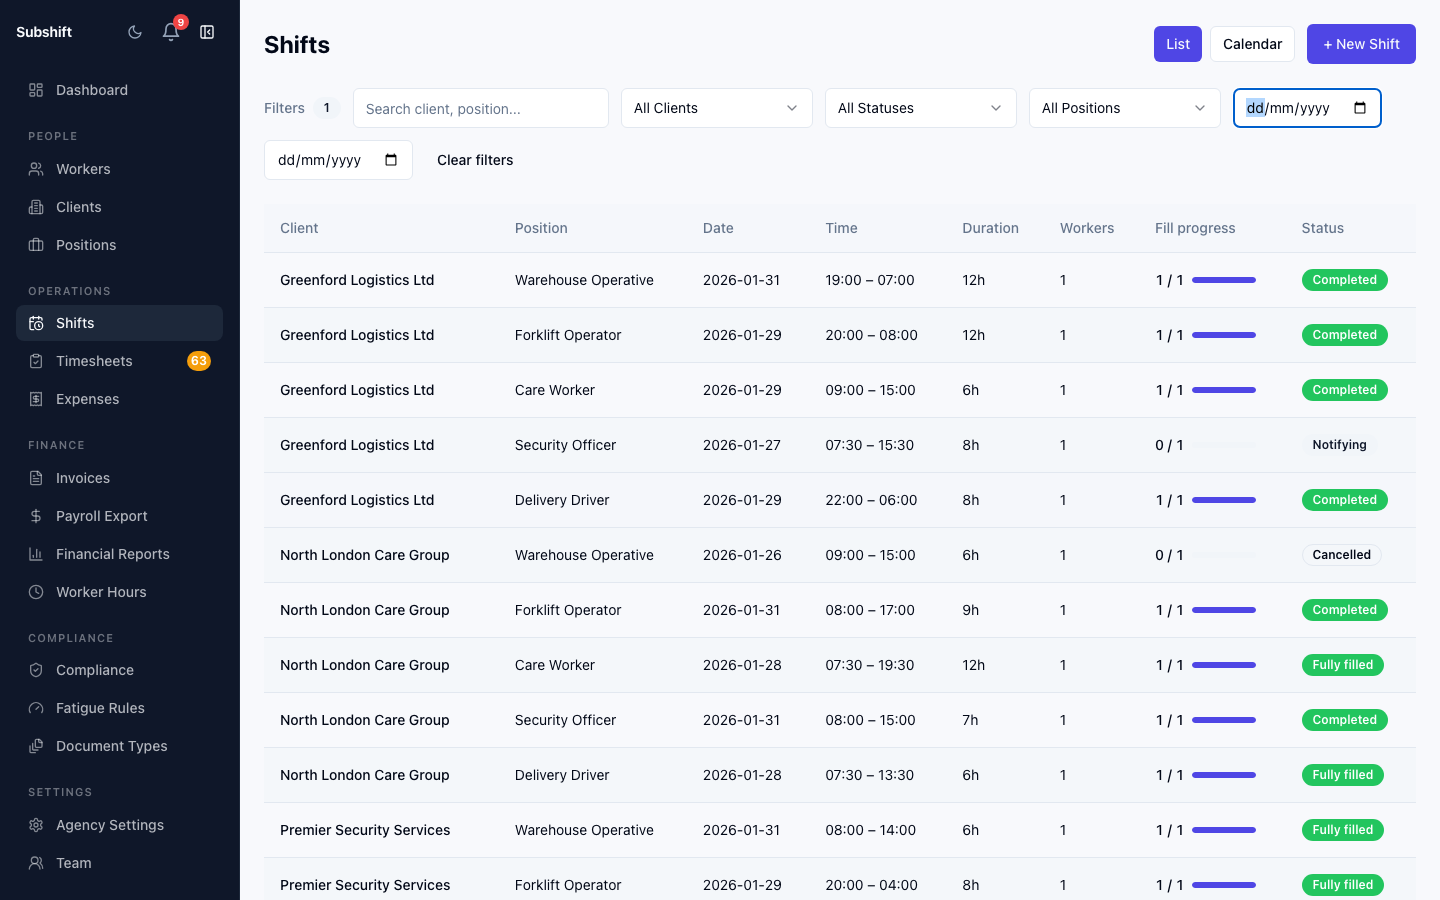
On the Shifts page, click New shift in the top right corner. A modal form opens.
Step 2 — Select a client
Choose the client that is requesting workers. Only active clients appear in this list.
Note
Step 3 — Select a position
Pick the role required for this shift from the Position dropdown. Only positions that are on the client's allowed list appear here.
Warning
Step 4 — Set the date and time
- Date — the calendar date the shift starts on.
- Start time — the time the shift begins (24-hour or 12-hour format).
- Duration — length of the shift in hours and minutes.
Tip
Step 5 — Set the number of workers needed
Enter how many workers are required in the Workers needed field. This creates that many individual shift slots within the shift group.
Step 6 — Notes (optional)
Add any instructions the worker should see before accepting — parking info, specific kit required, contact name on site, etc. These notes are shown to workers on their shift offer.
Step 7 — Save the shift
Click Create shift. Subshift will:
- Create the shift group and the required number of child shifts.
- Trigger the matching engine to find eligible workers.
- Begin notifying workers in priority order.
The shift immediately appears in the shifts list with a Notifying status badge.
Related
- Shifts overview
- Shift groups — how groups and child shifts relate
- Client detail — managing allowed positions for a client
- Positions — creating and editing positions